
If your school is hosting in an Art to Remember fundraiser, you can order the art your child created at school and upload additional art and favorite photos. All orders will support your school. And if you Create an Account with Art to Remember, you’ll be able to permanently store your art and order history!
Before uploading your artwork, you first need to get it into digital format. One way to do that is by using a free scanning app on your mobile phone, like Google PhotoScan, which has built-in features like auto-crop and glare removal. Another great way to get a digital copy of the artwork is by photographing it. Taking a good picture of the artwork is very important. We put together helpful tips so you can photograph your artwork like a pro. We’ll show you easy steps on how to light your work properly, avoid shadows, get the proper angles, stage your photos, prevent glare, and a few bonus editing tricks. These “hacks” to photograph your artwork will ensure it will look its best on your keepsakes!
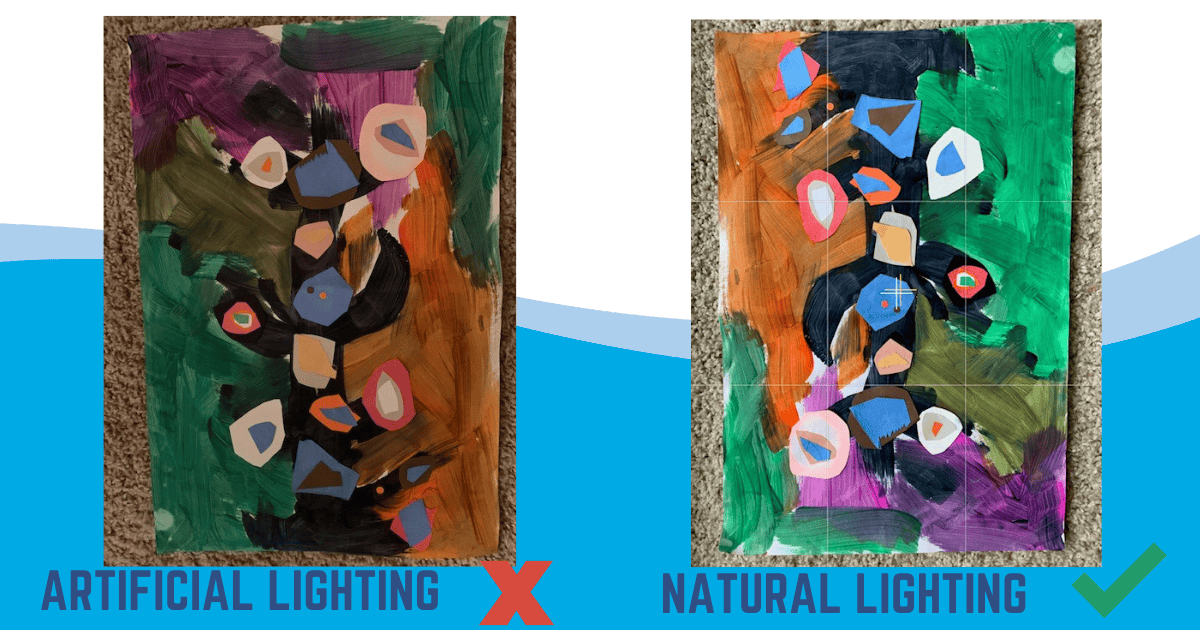
Lighting is one of the most important elements for photographing your artwork. Photograph your artwork in natural indirect sunlight. Place your artwork on the floor by an open door or an open window, which will give good illumination (even if it’s rainy outside!). Avoid artificial light and flash as that can cause shadows, odd coloring or glare. Using natural light creates a bright photo that is more true to the color of the original artwork. As you look at the artwork, notice if lighting is consistent and whether you see any unwanted glare or shadowing. To prevent shadows, do not stand in front of your source of light and the artwork.
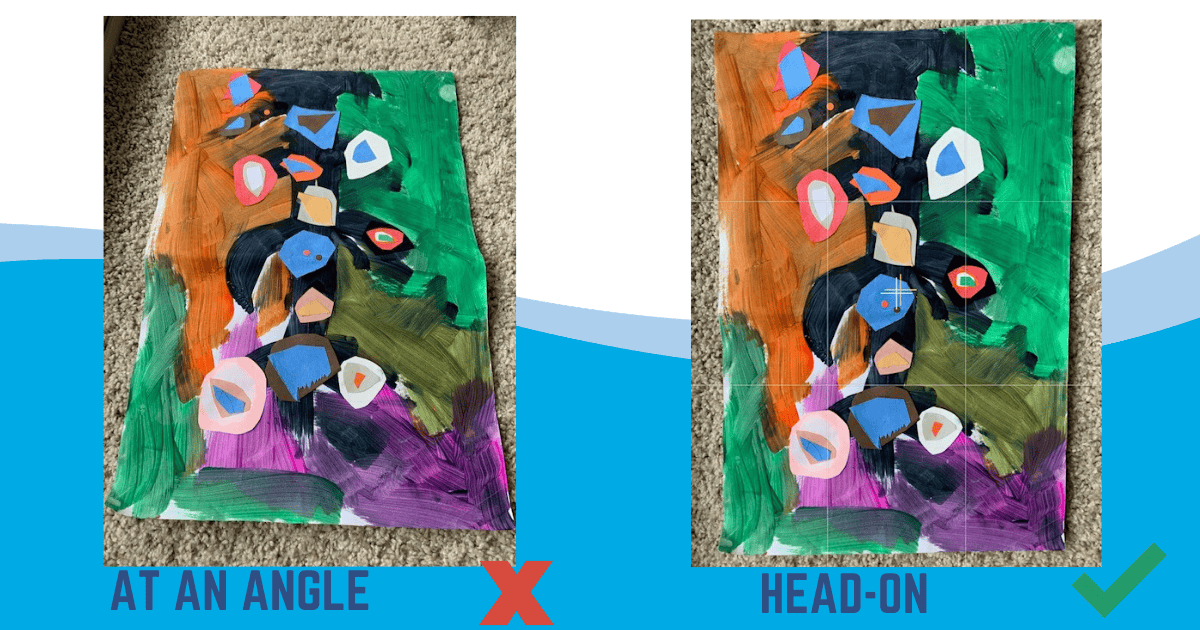
To get the best perspective and to not distort the artwork, you will want to make sure the angle of your art and the angle of your phone are the same. Position the camera directly opposite and parallel to the artwork. Make sure your artwork is straight and even. Stand over your artwork and take a photo from directly above it.
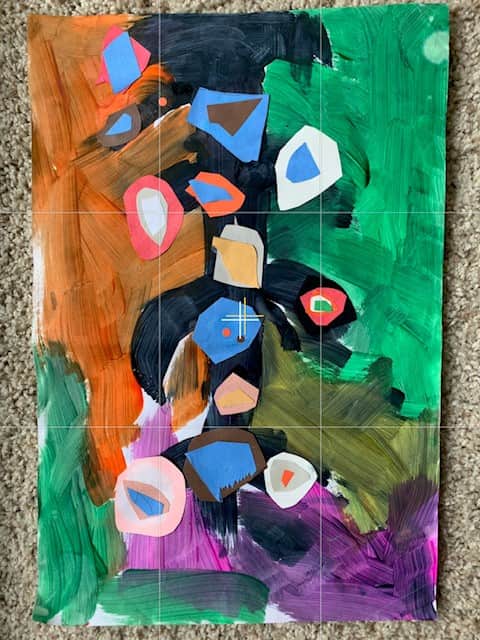
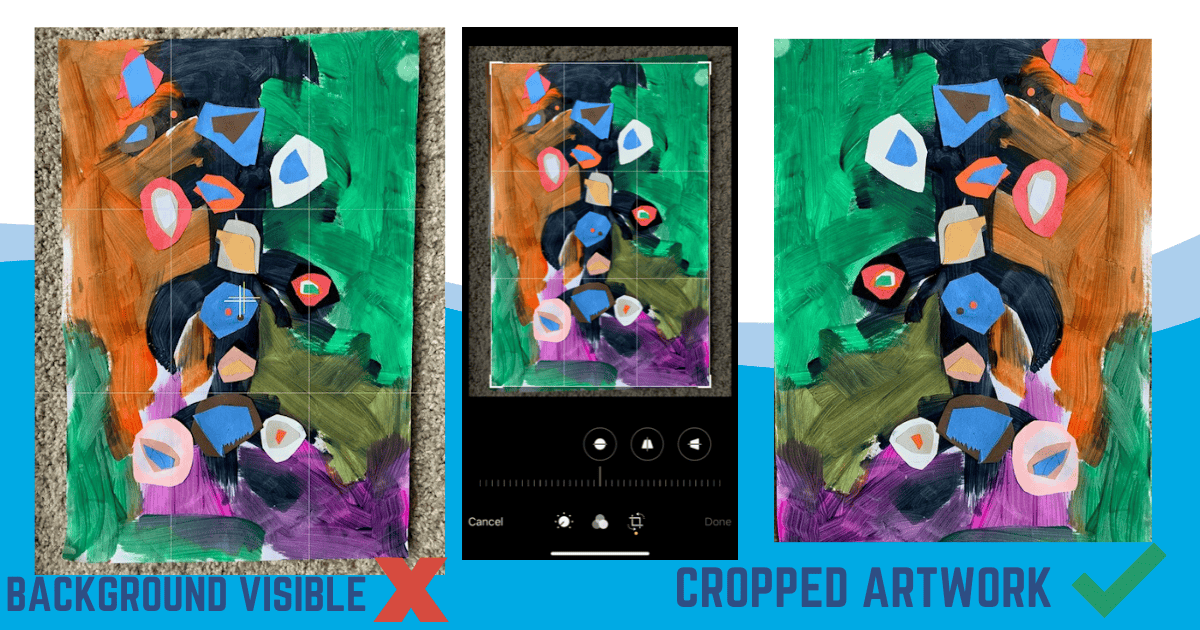
When photographing your artwork, lay your artwork flat and try to fill the frame with the artwork itself. Use a neutral colored background (white poster board works great). Using your phone’s editing tools, crop off any unwanted background, like wall or floor surfaces.
Take your photos at the highest possible resolution your camera will allow. Pixilation and loss of detail can occur when a low-resolution photo is printed on a large item like a poster or blanket. We want your child’s art to look GREAT on every product. For the best reproductions, please follow these specifications:
Upload your art and order custom keepsakes. To support your school fundraiser, enter your child’s online order code or place your order through your school’s custom webpage.
Watch this short video on how to upload artwork through your School’s Custom Webpage.
Turn your child’s art into beautiful keepsakes to enjoy for years to come and support your school at the same time!