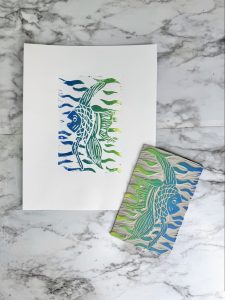
We kick off this fun process by creating a beautiful, colorful painted background, which sets a dynamic stage for the rest of our work. Once the paint is dry, the real magic begins: we use the simple yet exciting technique of monoprinting to create the textured silhouettes of two distinct birds. Finally, we bring these printed birds to life by using mixed media—combining colorful cut paper for collage, fine drawing tools, and perhaps even a touch more paint—to add intricate details, feathers, and lots of personality to our winged subjects!
Day One
Use liquid watercolor to fill the page with color. Then let dry.
Day Two
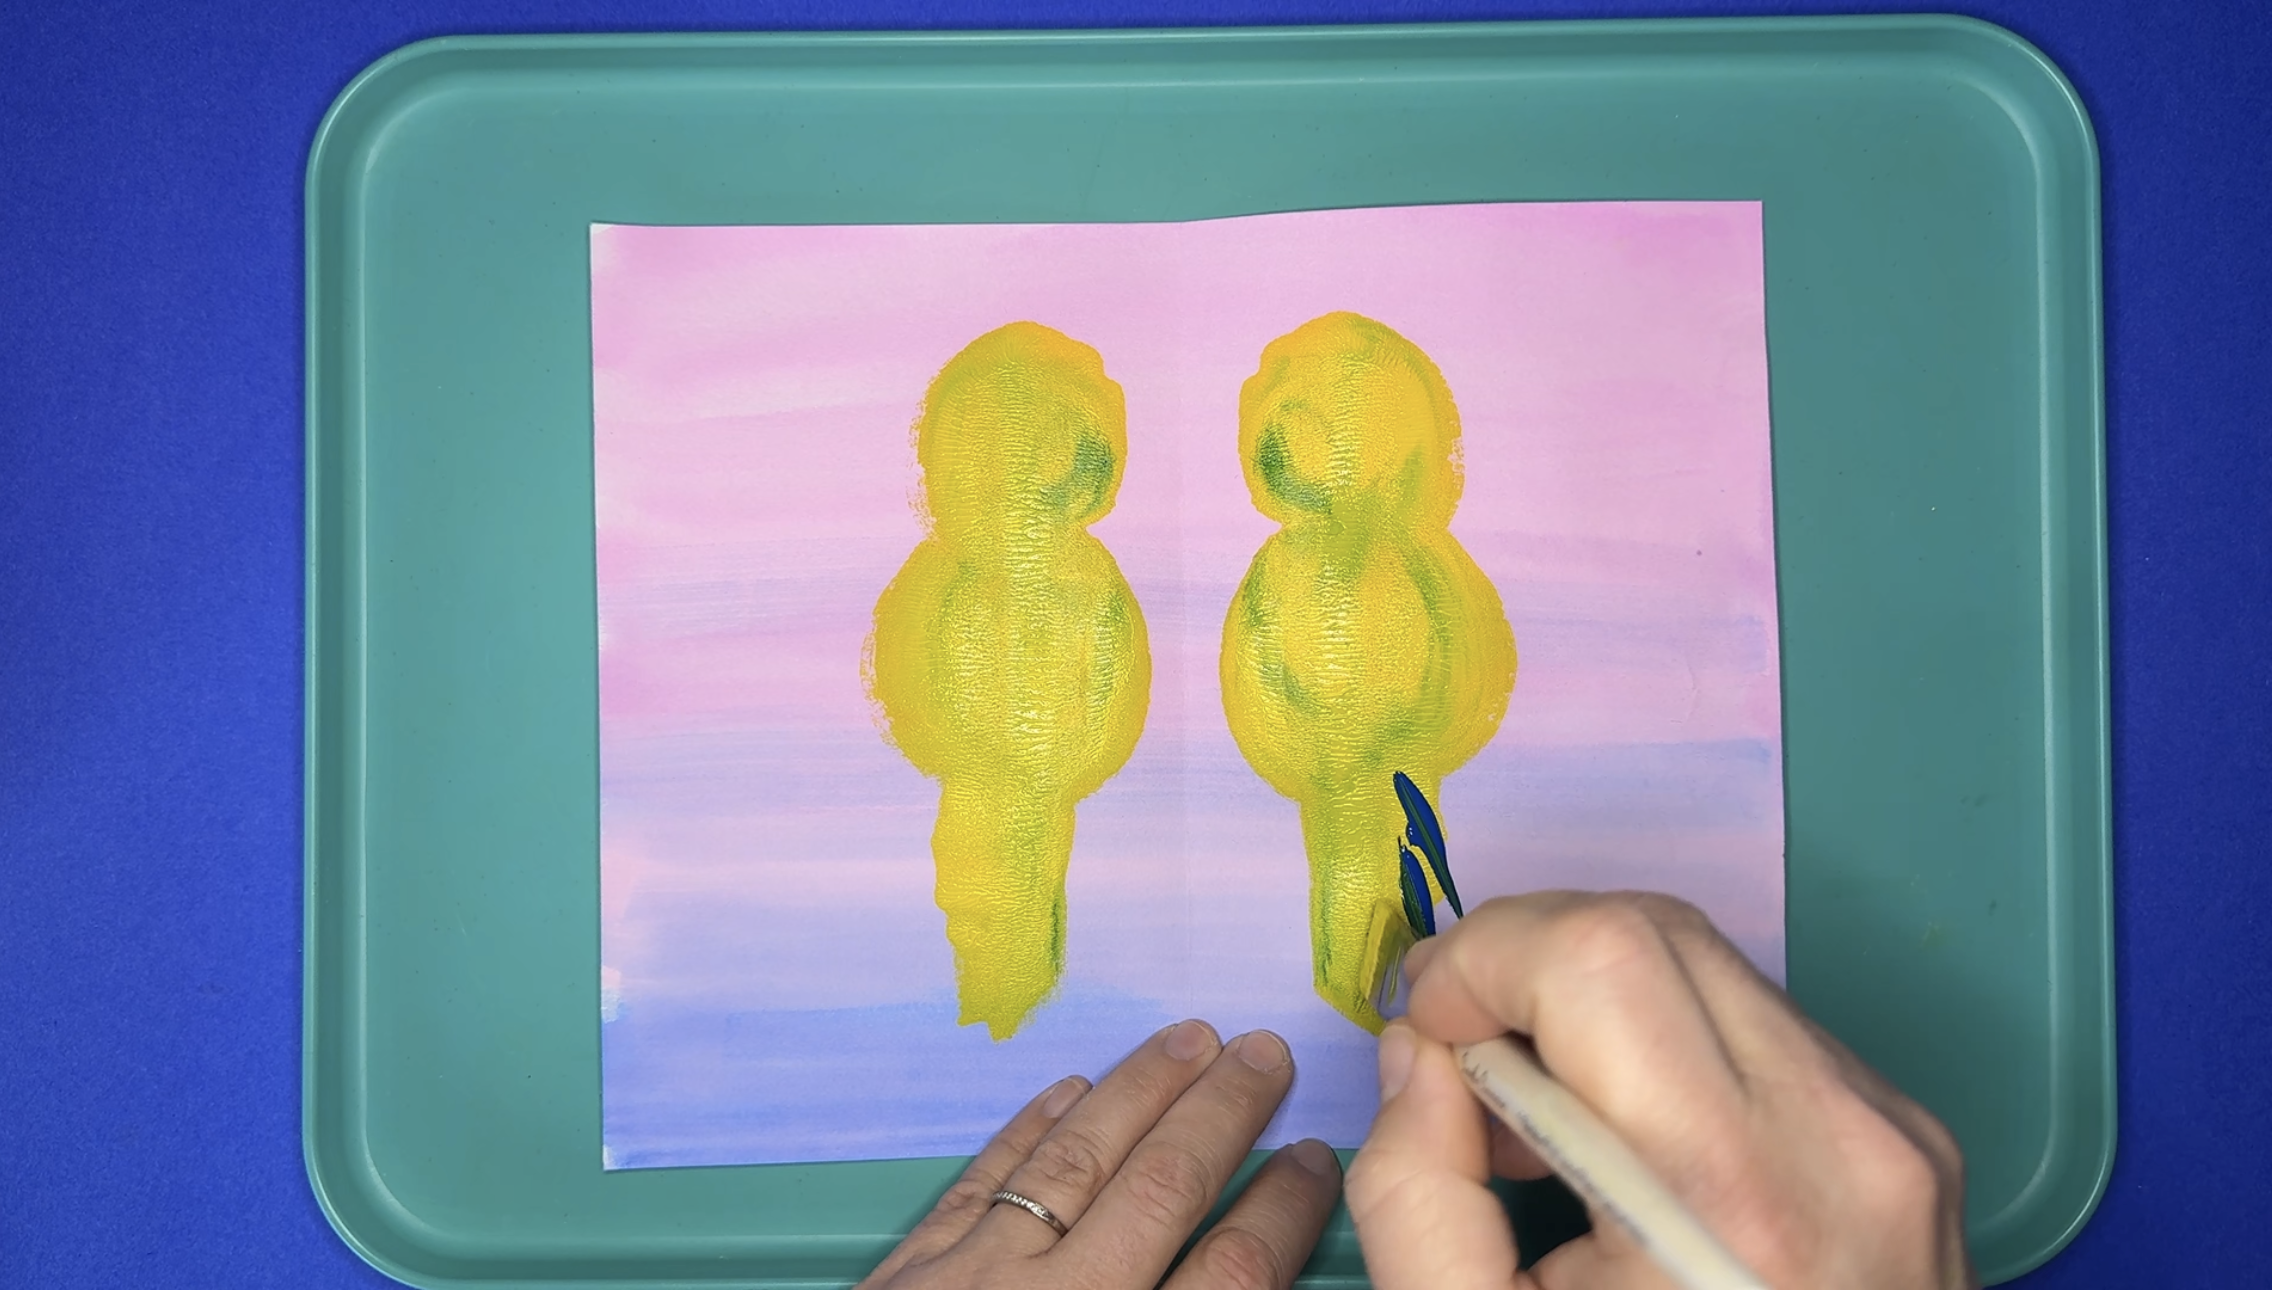
Once dry, fold the paper in half.
Paint a bird body, head and tail on one side of the paper. Fold and print. Then let dry.
Day Three
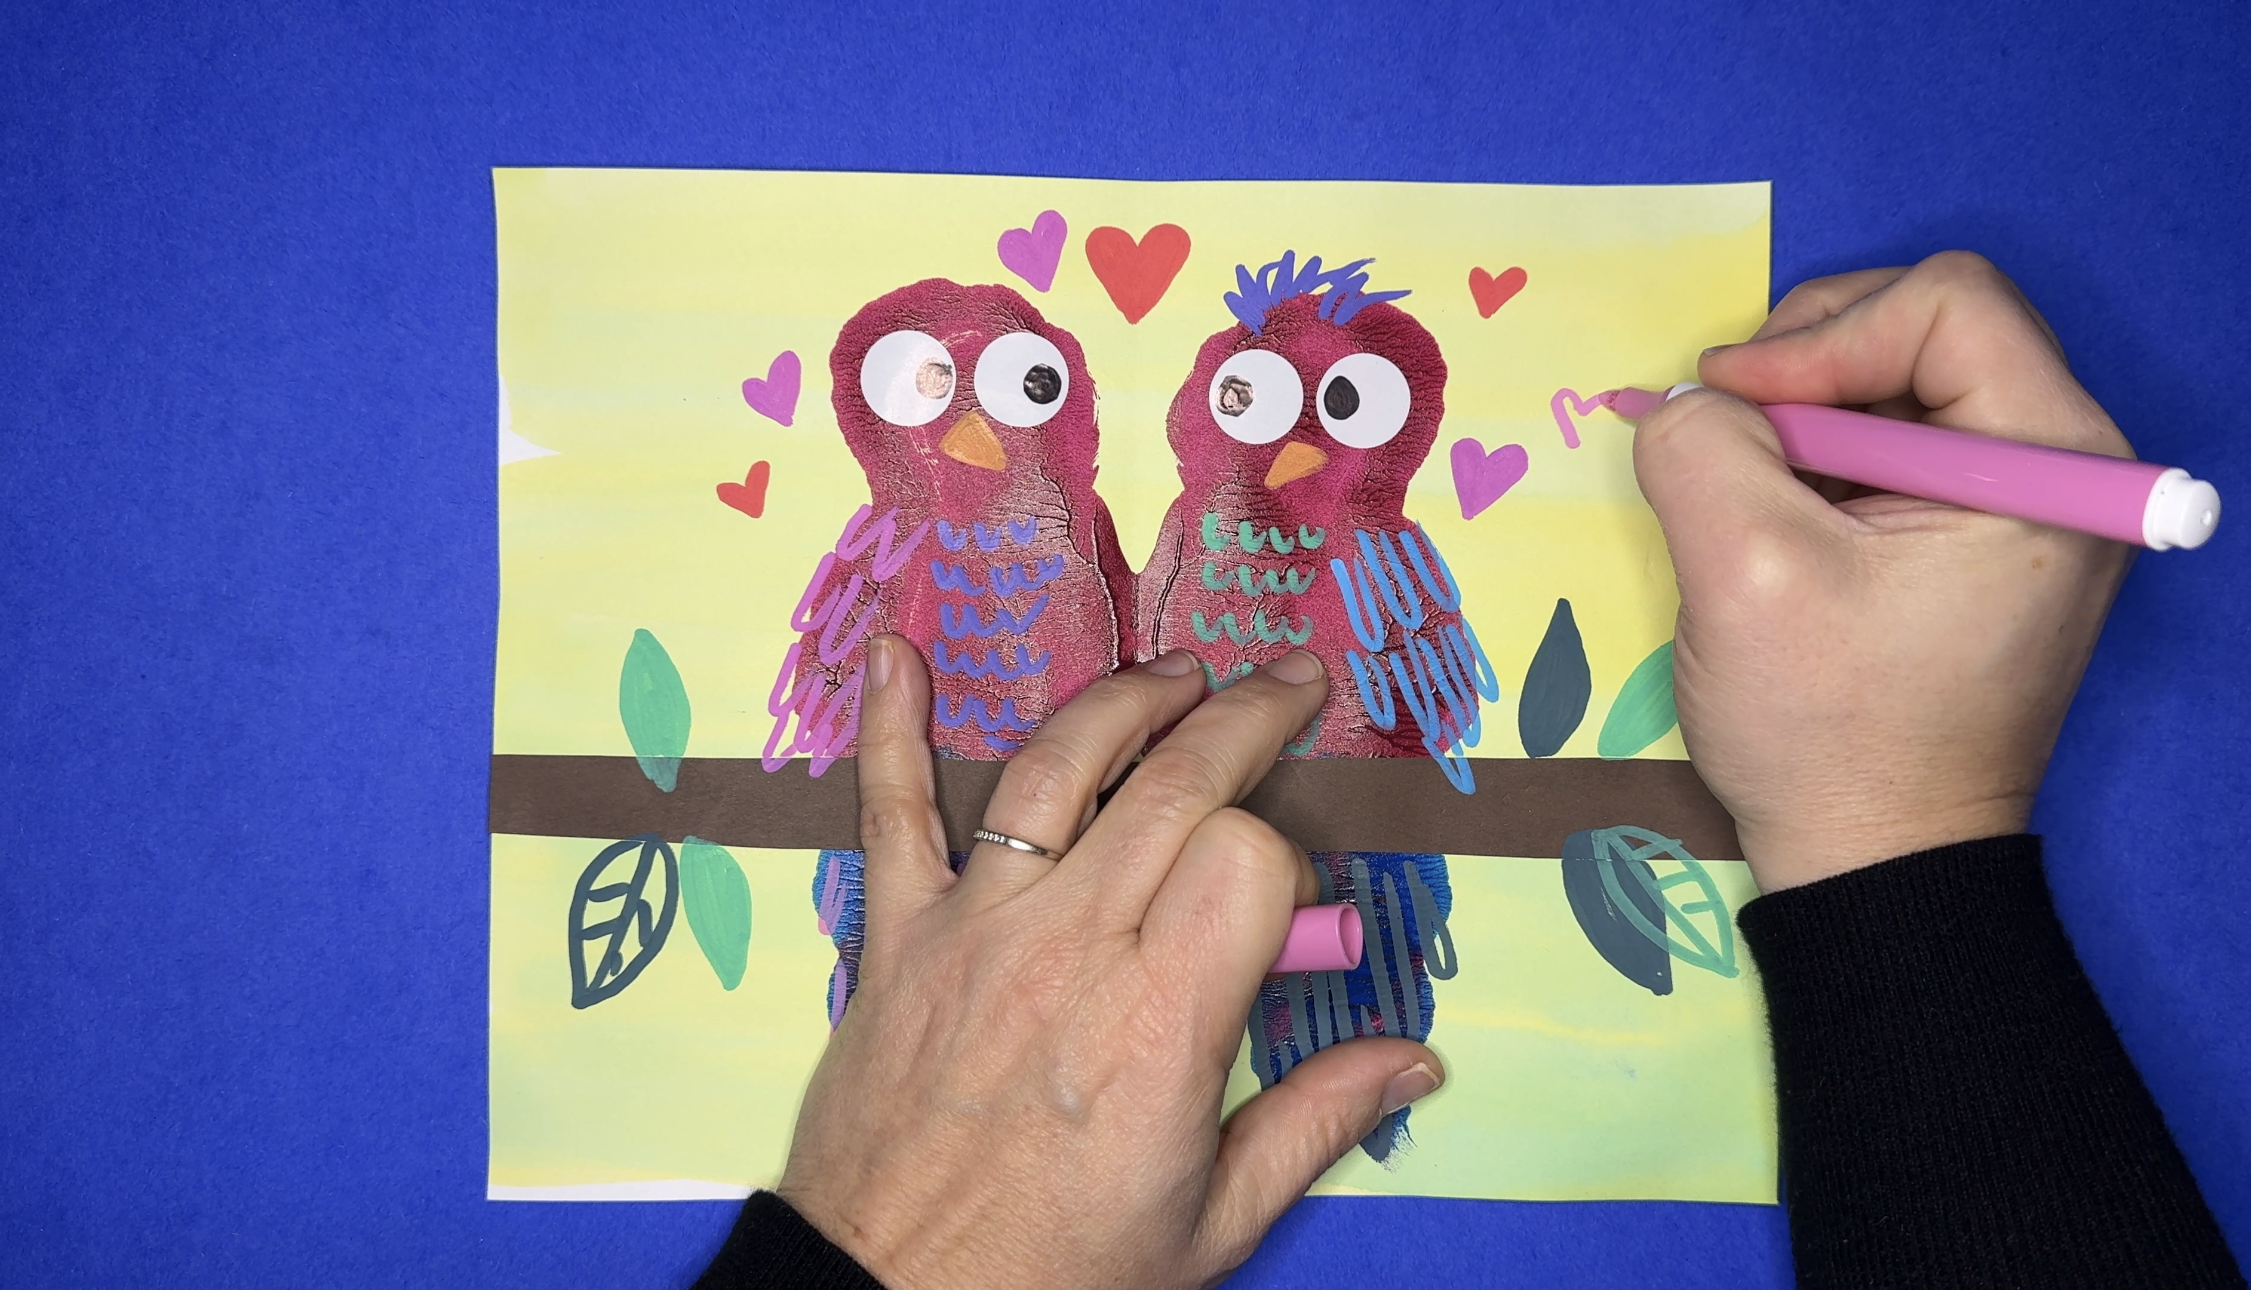
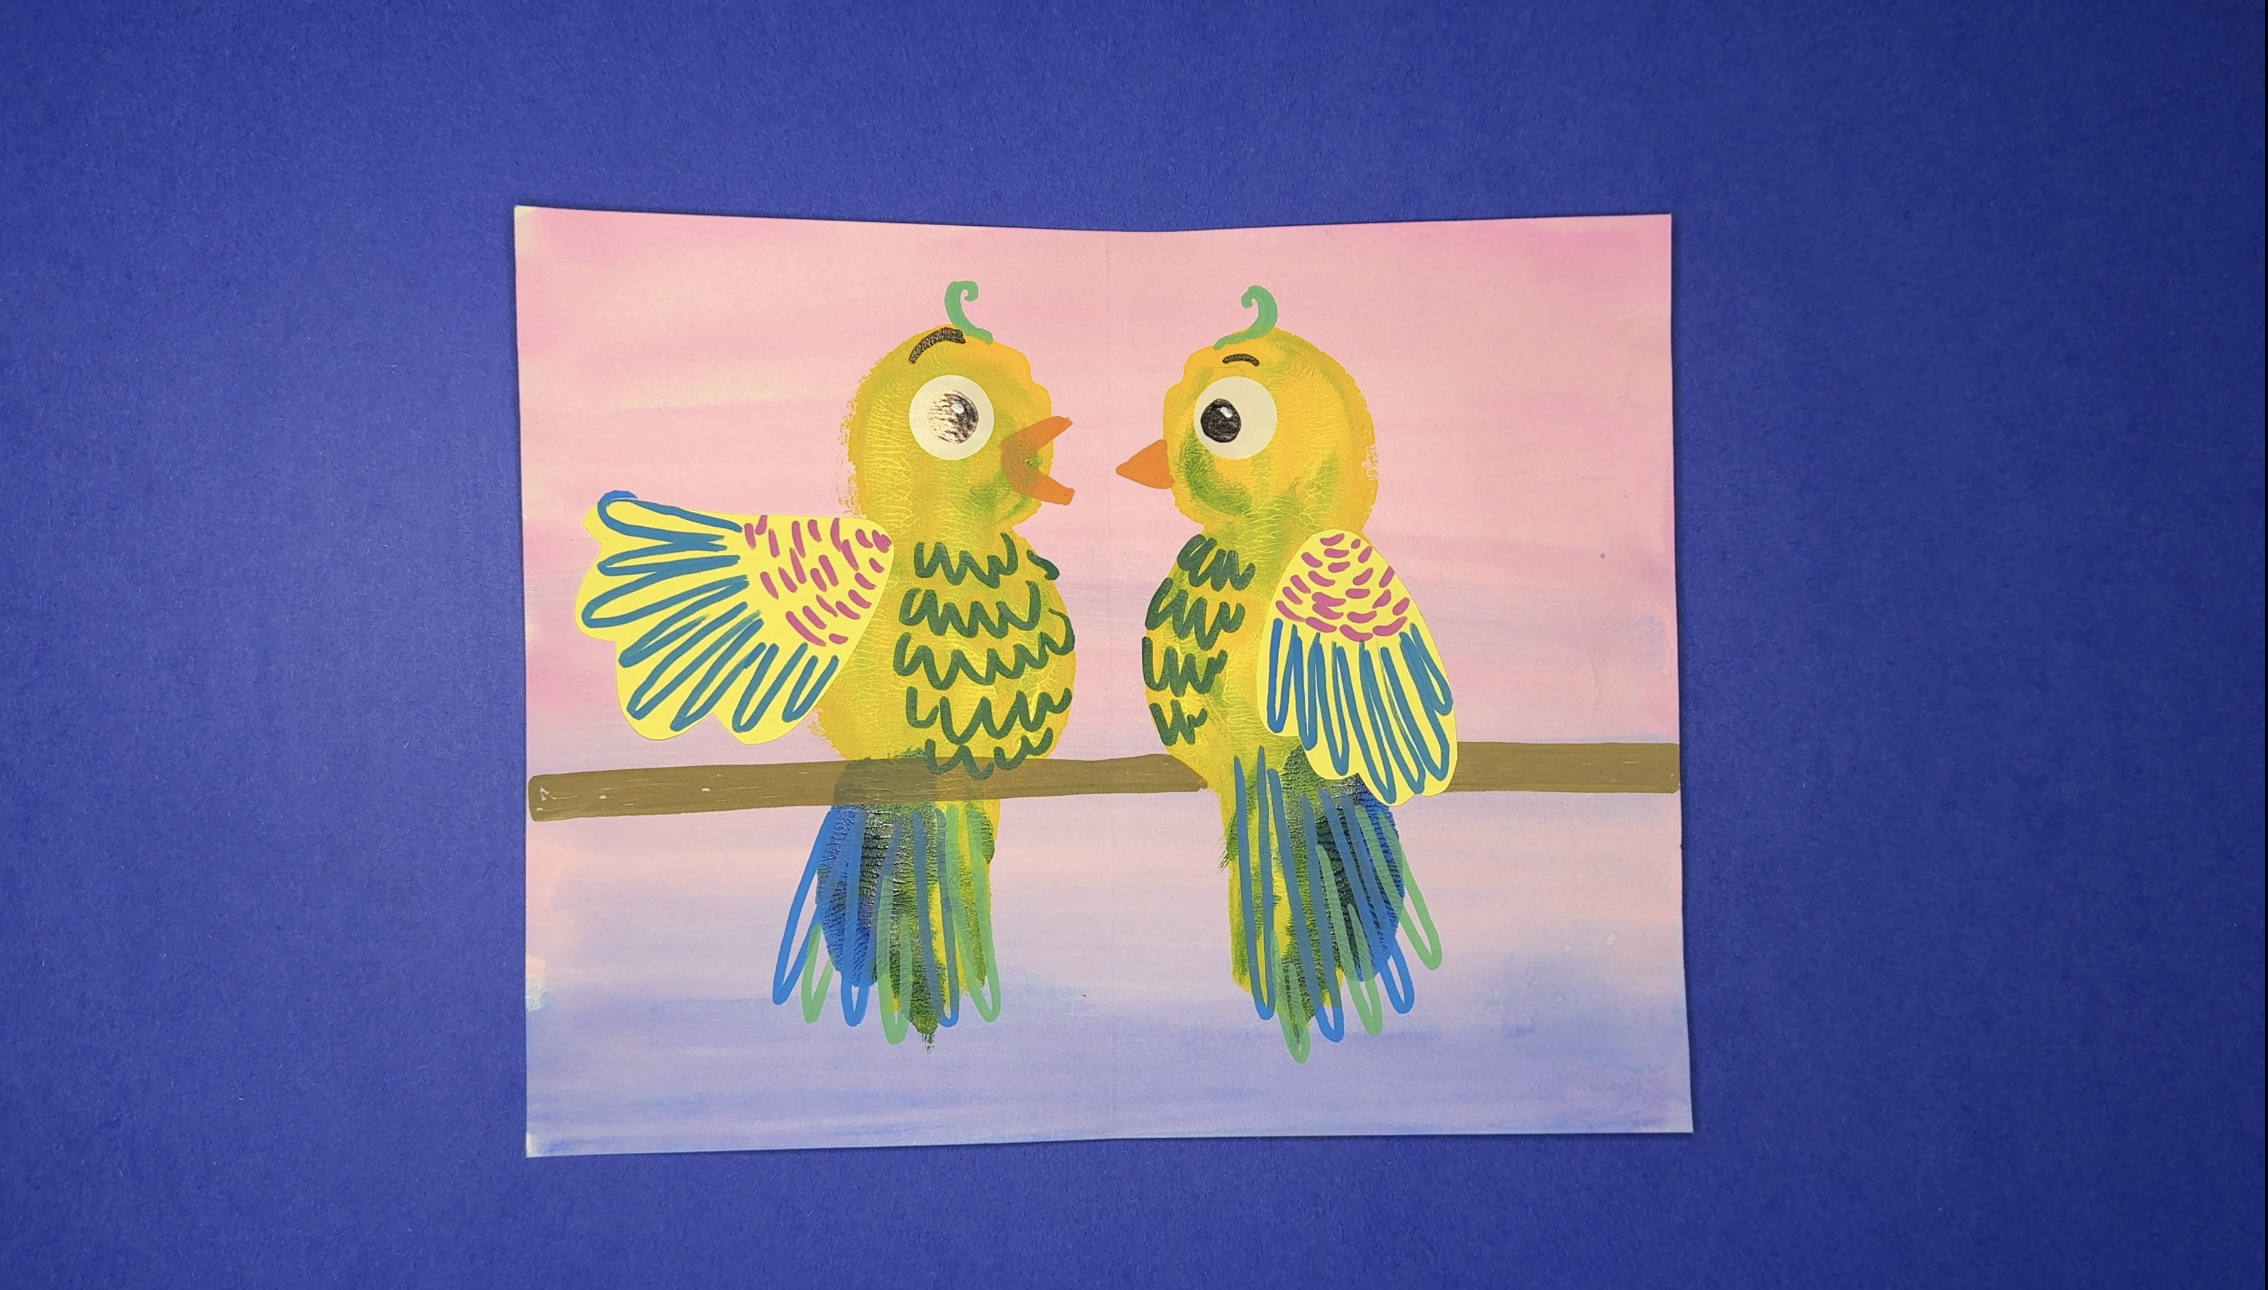
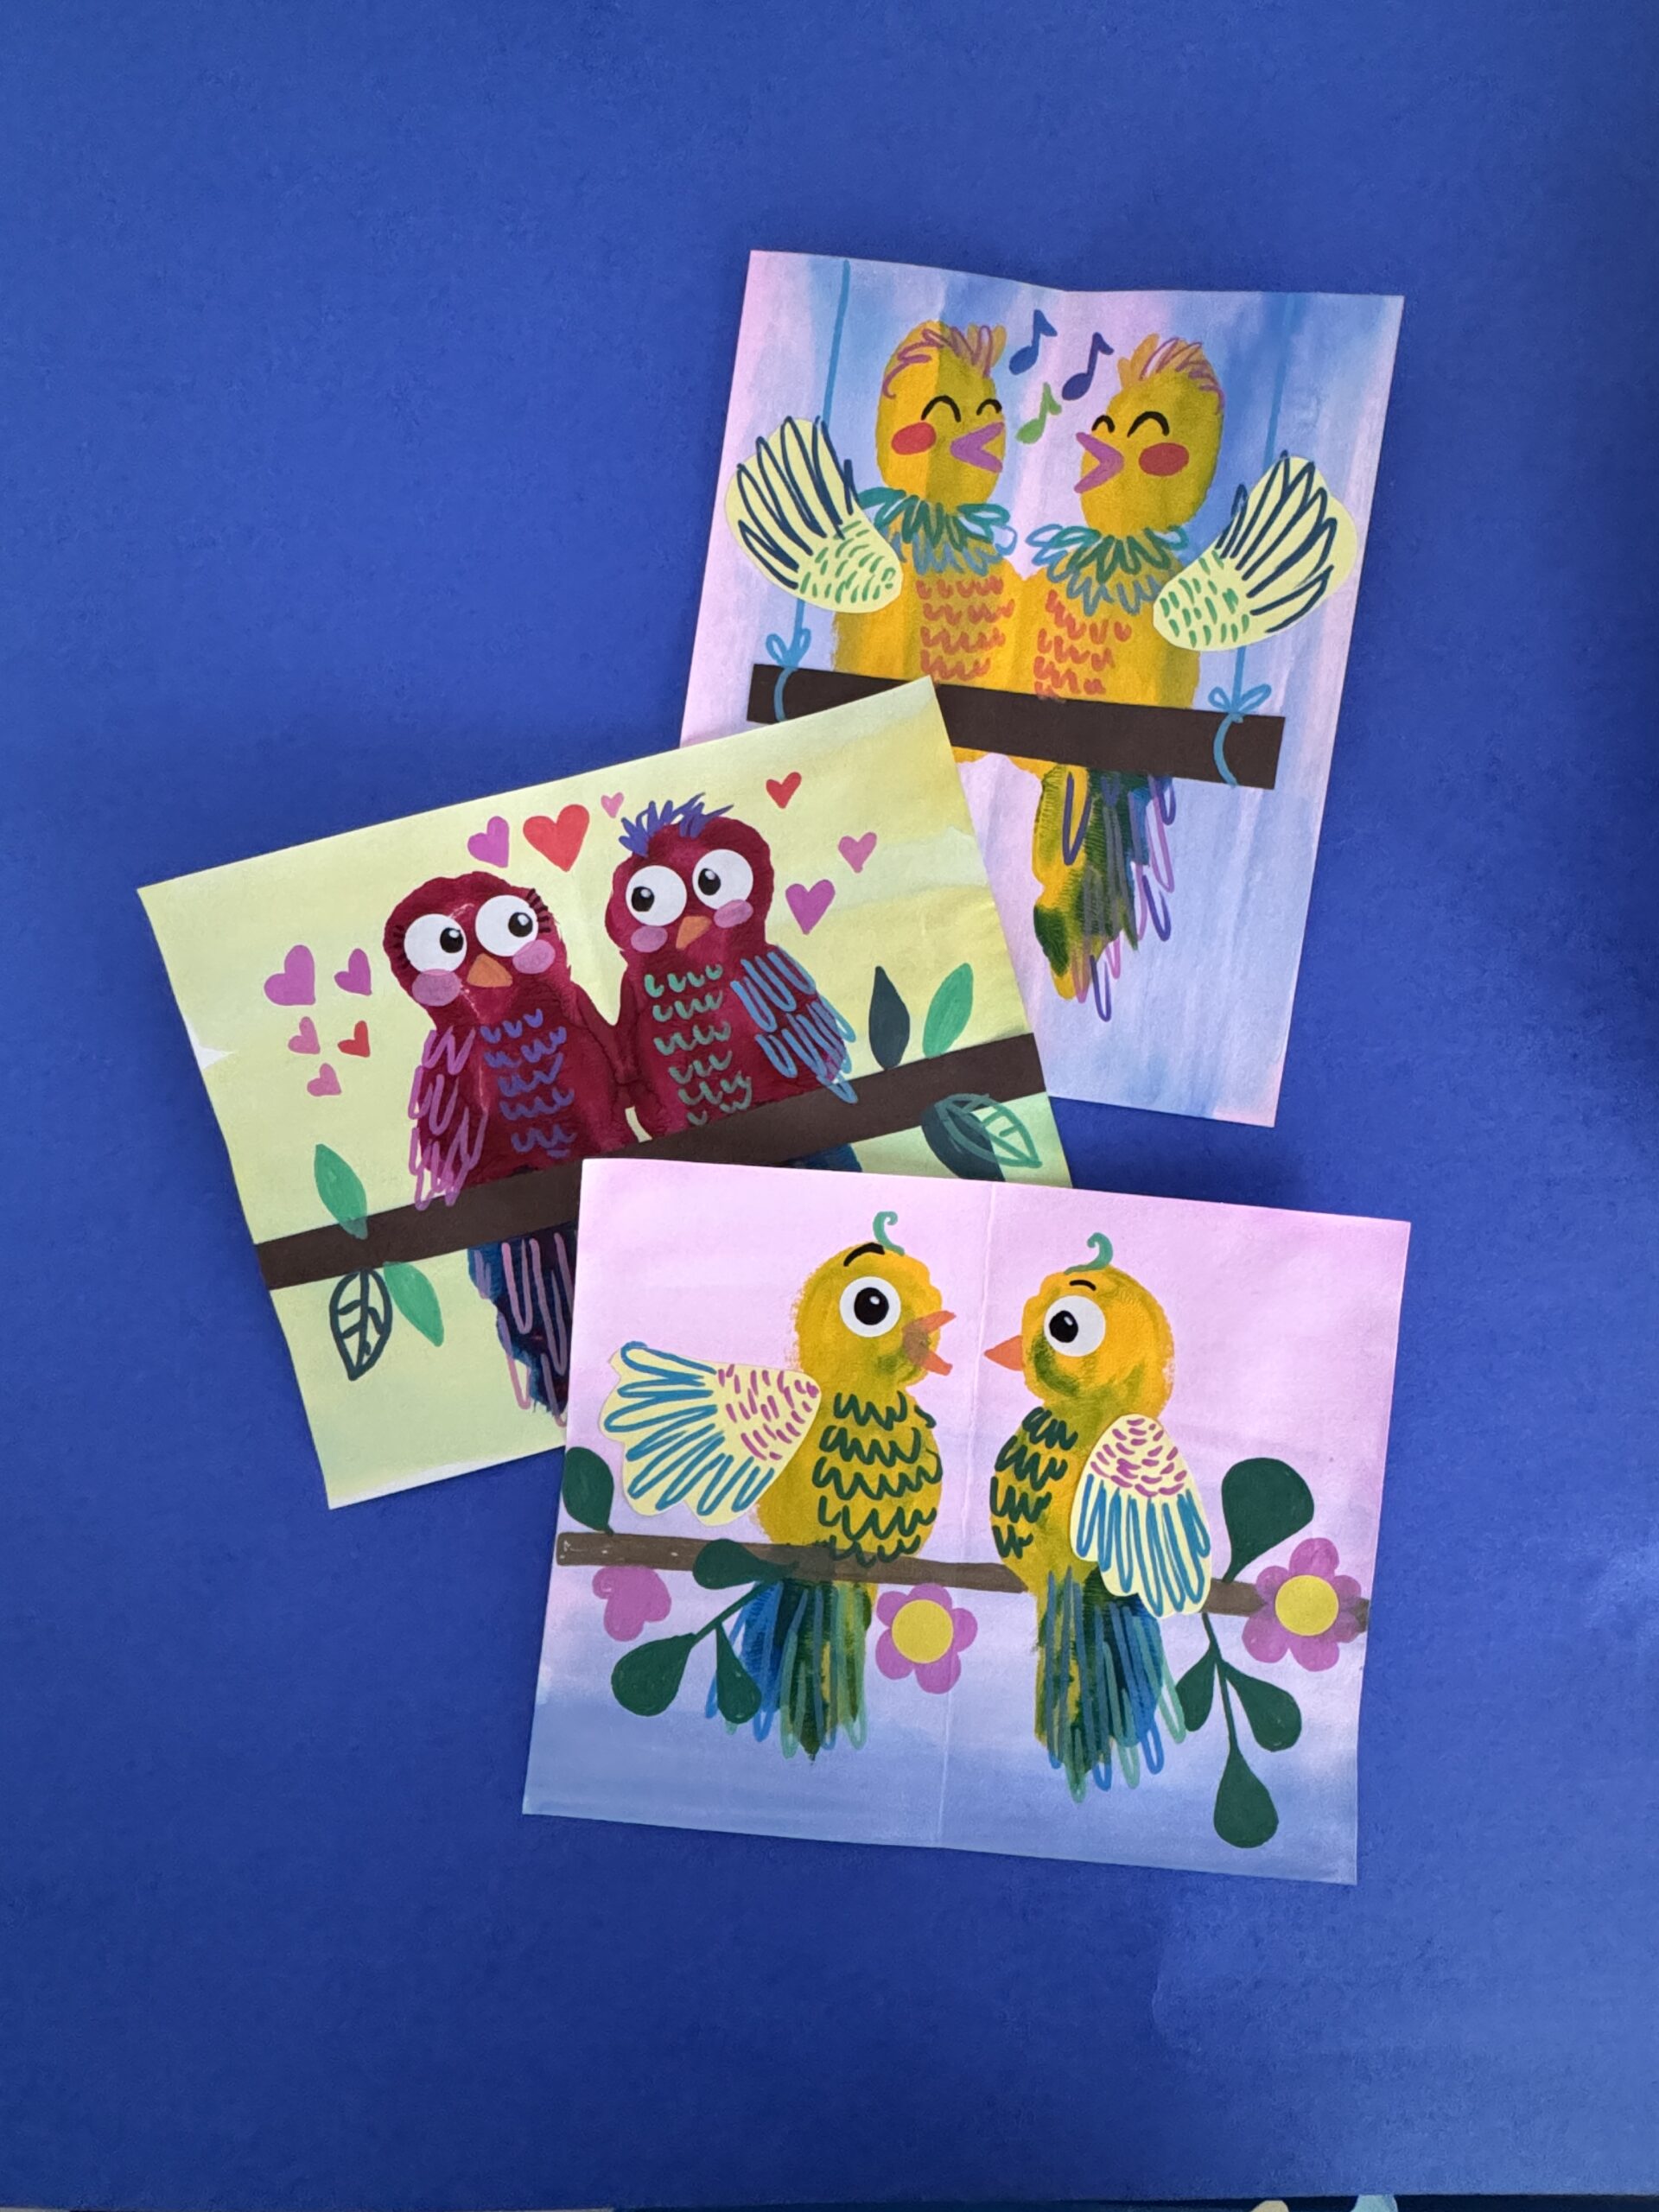
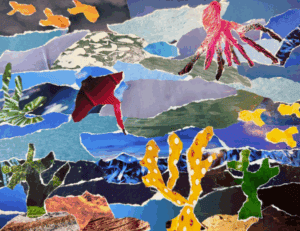
Add the details using collage and paint markers.
Collage a branch, draw some branches, or create a bird perch.
Add details to the space around the birds, faces on the birds, and more!
https://drive.google.com/file/d/1Ym32_zyqNiUQsEw_ivodY2pAAL46XHP8/view